Build a Backyard Sensor Network That Teaches Your Garden’s Hidden Climate
Today we explore DIY sensor networks for tracking backyard microclimates over time, translating invisible temperature, humidity, and soil patterns into decisions that boost plant health, reduce water waste, and reveal how sun, shade, wind, and seasons quietly re-shape your outdoor space. Expect practical parts lists, calibration tricks, data stories, and the confidence to launch something sturdy, insightful, and genuinely fun.
Microclimate signals that matter
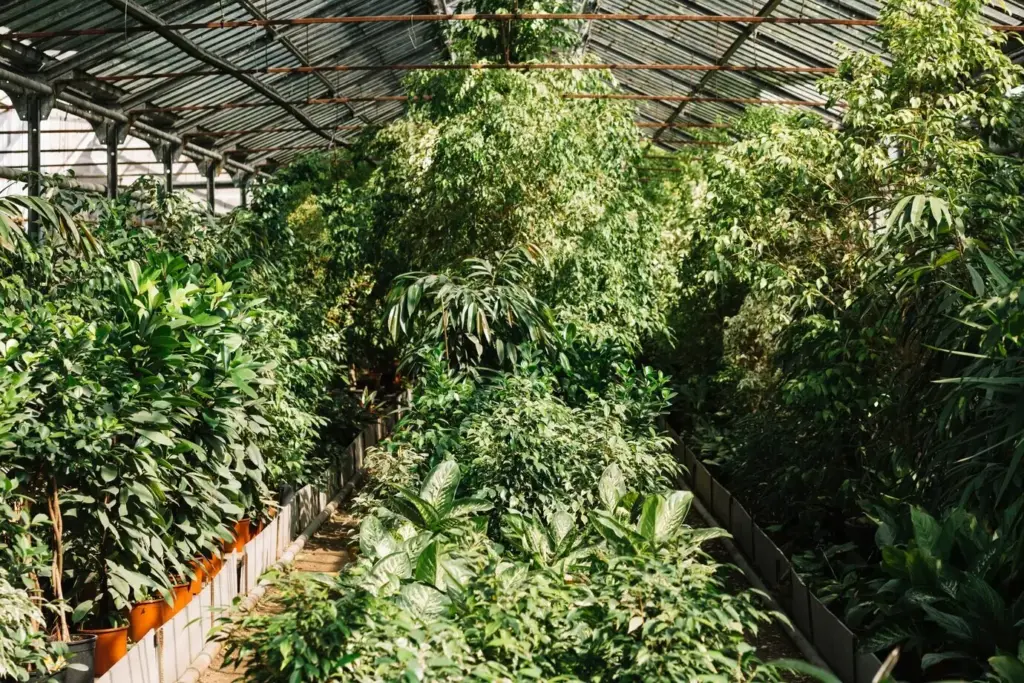
Backyards hold surprising gradients: a fence traps heat at dusk, a maple cools the ground by noon, and clay soil holds moisture long after sandy beds dry. Prioritize air temperature, relative humidity, soil moisture, and light levels, adding wind or leaf wetness where useful. Choose sampling intervals that capture dawn and evening transitions while conserving power, so patterns across weeks become confidently interpretable.
Choosing boards, radios, and sensors
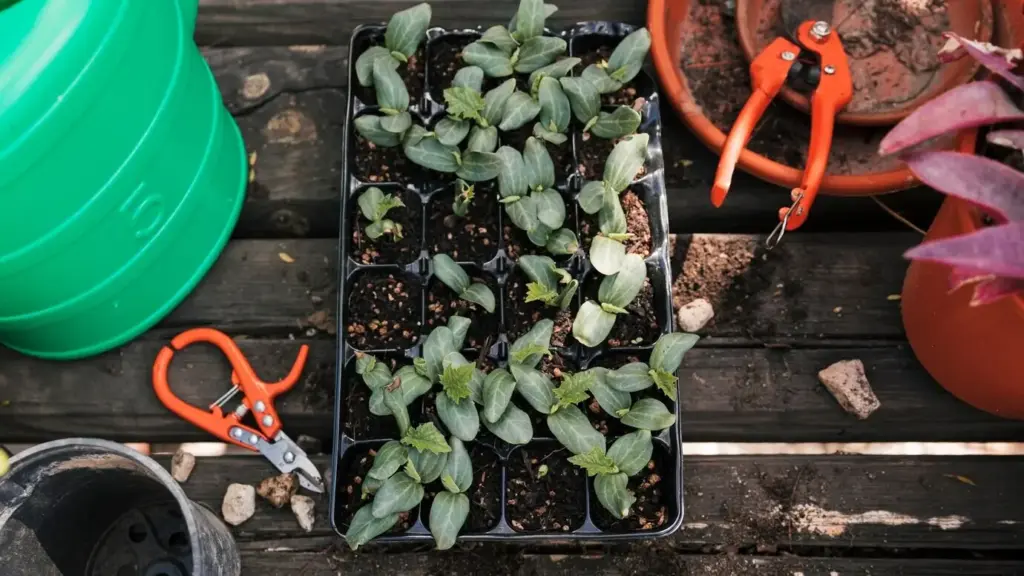
Match hardware to realities on the ground. ESP32 offers Wi‑Fi, BLE, and deep sleep for easy dashboards; LoRa extends range when your router cannot reach the far corner. Pair reliable digital sensors like SHT31 for humidity and capacitive probes for soil moisture. Favor I2C buses with clear pinouts, sturdy JST connections, and libraries you can actually maintain. Prioritize low drift and documented calibration procedures.
Power budgets and sleep schedules
Long battery life beats frequent ladder climbs. Estimate current draw during sampling, radio bursts, and deep sleep, then select cells sized for cloudy weeks and winter cold. Solar panels plus charge controllers help, but only when oriented well and kept clean. Use timed wake cycles, local caching, and compressed payloads to stretch runtime. Label batteries with install dates to track real-world performance honestly.
Coverage, Range, and a Network That Stays Online
A great system sees the whole yard without drama. Plan a star or mesh layout based on obstacles, update frequency, and battery constraints. Test links before permanent mounts, aiming antennas away from metal rails and dense foliage. Consider a single gateway near home power, or a repeater node to hop around the shed. Keep radios on stable channels, and log link quality for future tweaks.


Accuracy You Can Trust: Calibration and Robustness
Good insights require good numbers. Sensors drift, sunlight warms enclosures, and soil moisture differs by texture. You will learn easy reference checks using ice water, saturated salt solutions, and cross‑node comparisons at night. Robustness comes from thoughtful ventilation, desiccant packs, and UV‑resistant plastics. Design for rain, sprinklers, and curious pets, then verify stability over weeks, not just a single afternoon.
From Raw Numbers to Insightful Stories
Data becomes useful when it changes decisions. Store time‑series readings with clear tags for zone, depth, and node version. Visualize dawn spikes, irrigation impacts, and weekend heatwaves to understand plant stress. Use rolling averages for trend clarity, percentile bands for extremes, and alerts that respect nighttime quiet hours. Over months, patterns reveal where mulch, shade cloth, or drip adjustments will matter most.
Build panels in Grafana or a similar tool showing soil moisture by bed, temperature overlays by height, and humidity compared to outdoor weather stations. Color thresholds should suggest action rather than shout constantly. Add annotations for rain, mowing, and irrigation runs. Provide battery charts beside sensor charts, so you do not blame plants for a dying node. Make mobile views quick to load during a muddy stroll.
Use moving averages to see trends, but keep raw lines for context. Compare shade versus sun by aligning curves to sunrise. Track vapor pressure deficit to estimate plant stress, and compute growing degree days for crop timing. Correlate irrigation events with soil moisture rebounds to tune durations. Export weekly CSVs for backups and quick experiments. Let anomalies spark experiments rather than panic, documenting insights for future seasons.
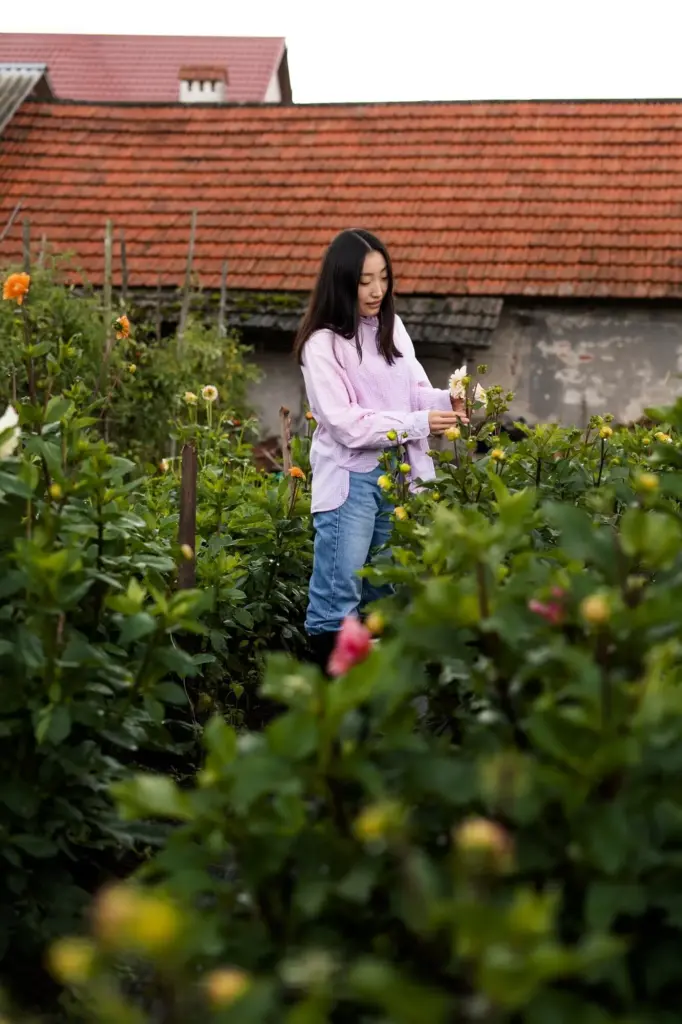
Installations that respect wildlife and neighbors
Birds perch, squirrels test everything, and pollinators deserve safe passage. Avoid sharp edges, do not block nesting spots, and keep mounts off shared fences. If a node faces a neighbor’s yard, shield status LEDs. Post a friendly note explaining the project purpose and contact details. Sound choices like quiet mounting times and careful ladder placement build trust while still gathering excellent, long‑term environmental data.

Community science and playful collaboration
Invite neighbors to host a node on their patio and compare microclimate differences across the block. Publish anonymized data and simple weekly summaries others can understand. Offer build nights where you solder, crimp, and share firmware tricks together. The collective dataset makes heat islands visible and watering smarter for everyone. Turning numbers into shared stories strengthens community resilience during heat waves, storms, and sudden cold snaps.

Join the journey and share your findings
Tell us where your nodes live, what sensors surprised you, and which dashboards actually changed behavior. Comment with photos, calibration curves, and tough lessons earned in rain. Subscribe for monthly build notes, code updates, and seasonal checklists. We feature reader experiments, credit contributors, and iterate together. Your observations make the network smarter, more resilient, and far more inspiring than any single backyard could offer alone.
A Practical Build: Prototype to Deployment
Fast breadboard proving ground
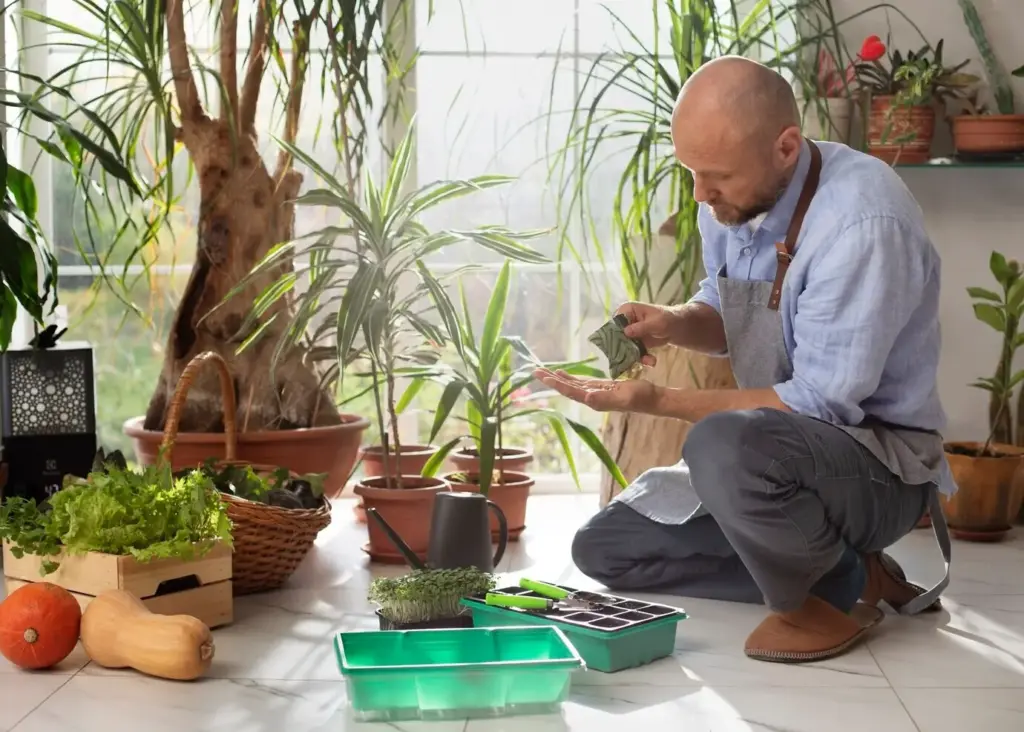
Assemble a minimal node with temperature and humidity first, adding soil moisture after basic readings stabilize. Log battery voltage alongside climate values to reveal power quirks instantly. Validate deep sleep timing against a stopwatch. Confirm Wi‑Fi reconnection or LoRa join behavior after power cycles. Keep a build journal with code hashes, wiring photos, and test results to reproduce fixes quickly when the unexpected appears outdoors.
Sealing and assembling resilient enclosures
Drill pilot holes for cable glands, test gasket compression, and route strain relief so cables never pull on boards. Use breathable vents for air sensors, isolating soil probe cables in separate glands. Place desiccant near electronics, not sensors, to avoid skewed readings. Label ports, tighten screws evenly, and wipe away sealant squeeze‑out. Shake, splash, and sun‑bake a test unit for a day before permanent installation.
Deployment day and the first 48 hours
Carry a charged power bank, spare zip ties, a torque‑limited screwdriver, and alcohol wipes. Mount nodes during similar times of day to ease comparative analysis. Verify live data at each spot before leaving. Capture photos of placements and compass directions for records. Over the next two days, check for drift, false spikes, and weak links, adjusting antenna angles or sampling intervals before the season’s big weather swings arrive.
Upkeep, Scale, and Ambitious Next Steps
The most illuminating insights arrive after months. Plan routine health checks, battery rotations, and firmware updates that respect quiet hours. Add nodes to cover heat‑holding walls, low hollows, and breezy ridgelines. Experiment with leaf wetness, UV, or wind for richer context. Consider predictive models that recommend watering, and simple edge logic to skip transmissions when conditions are stable, saving power without sacrificing resolution.


All Rights Reserved.